Installing Server Components
Using the Installation Wizard
All server components are installed using a common installation wizard, which gathers configuration details and installs the relevant files. The Pharos Installation Wizard is opened from the Pharos disk image. All wizard screens use the same layout.
Most properties set during installation can be changed later using the Pharos Administrator application.
Installing Uniprint Suite Server Components
To begin the Uniprint server component installer:
- Access the Pharos disk image from a computer on which you want to install the components.
- If the installer does not start automatically (e.g. if you are accessing the disk image from a network share), double-click on setup.exe from the root directory of the disk image. The Pharos splash screen appears.
Main Installer Wizard Screens
The following screens are displayed during an install of the Pharos server components.
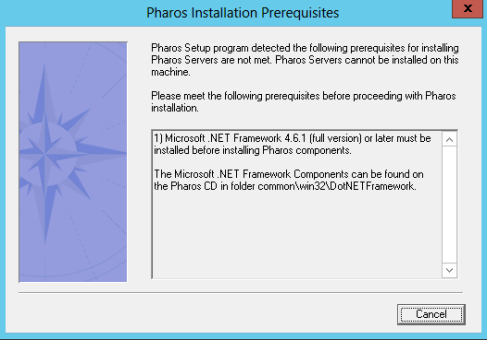
Pharos Installation Prerequisites
All Pharos Services require Microsoft® .NET Framework 4.6.1 (full version). This screen is displayed if you do not have .NET Framework 4.6.1 installed on the machine where you are attempting to install Pharos components.
You can find the .NET 4.6.1 installer in the Pharos install media folder common\win32\DotNETFramework.
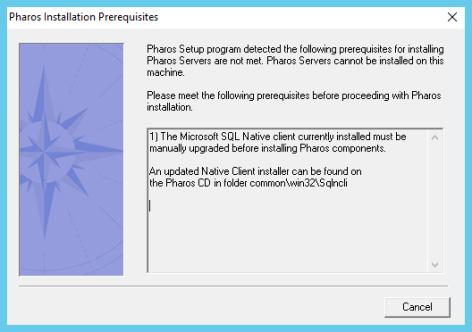
Pharos Installation Prerequisites
This screen appears only if the machine on which the Database Service is installed runs an older version of SQL Native Client 11.0.
You will need to upgrade the SQL Native Client to the latest version (11.x.7001) before continuing with the install. You can find the installer in the Pharos CD image under common\win32\sqlncli.
Welcome screen
Basic information about the Uniprint Suite installer.

Pharos Components
If any Pharos components are already present on this computer, they will be listed on this screen. If no components are detected, this screen is not displayed. Click Next to continue.
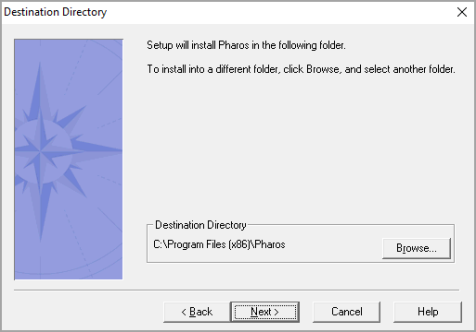
Destination Directory
Click Browse if you want to specify a different folder that Pharos files should be installed to.
When the appropriate installation folder has been selected, click Next to continue.
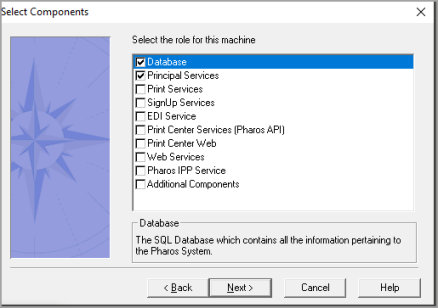
Select Components
Select the server role(s) to install. Highlighting a role displays information about it in the lower half of the screen, including a list of components installed with the role.
Check the boxes for all server roles you want to install and then click Next.
Selecting “Additional Components” leads to another screen where you can select the specific components you want to install.
Database Server TCP/IP Host Name and Address
The screen is displayed when installing roles other than Database or Principal Services.
Enter the network name of the computer that hosts the Pharos Database Service (not Pharos Database) and then click Next.

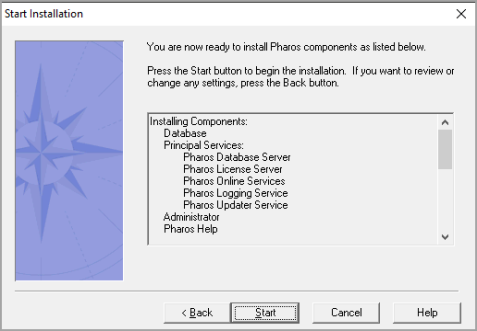
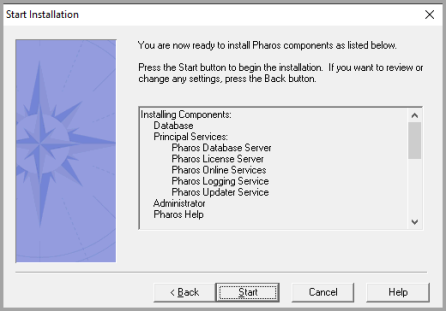
Start Installation (Principal Services and Database)
This screen is displayed once the installers have gathered all of the information they need. A summary of the components being installed is listed.
Click Start to begin the installation.
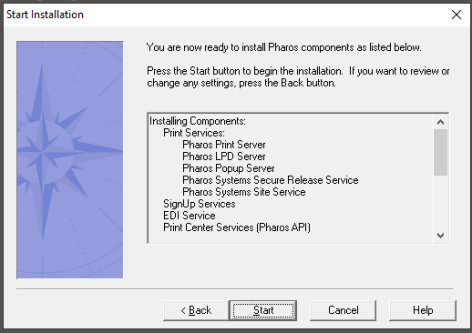
Start Installation (Print Services and other Services)
This screen is displayed once the installers have gathered all of the information they need. A summary of the components being installed is listed.
Click Start to begin the installation.
Finished Installation
This screen is displayed once the installation is complete.
Click Finish to exit the installer.
Depending on which components were installed, the computer may need to be restarted to complete the installation. If this is the case, a small dialog asking if you want to restart the computer is displayed. Click Yes to restart immediately or No to return to Windows and restart at a later point.
At this point, you have only installed the Principal Services. A server restart is not necessary here, nor will you be prompted for the restart.
Component-Specific Screens
At this point, any screens specific to the components being installed are displayed. Component screens are displayed in the order that the components are listed on the Select Components screen.
Refer to the Pharos Help for more information on the specific properties mentioned. If a component is not mentioned below, it has no extra install wizard screens.
Pharos Principal Services and Database
SQL Server Name
Enter the name of the server that the Pharos Database is installed on and click Next.
You may enter the server name or the fully qualified server name. If the Database is not installed on the default SQL instance, specify the instance name (e.g. hostname\instancename).
By default, Uniprint connects to the SQL Server using port 1433, but if you wish to change this to a non-default port, you can do so by adding a comma and the port number after the database hostname (e.g. PV-UNIPRINT, 1434).
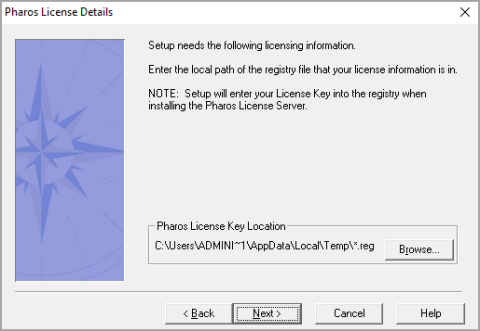
Pharos License Key Location
Click Browse to locate the registry file containing your license information. Click Next once you have specified the location of the registry file.
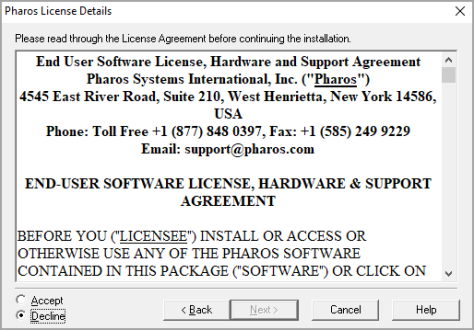
License Agreement screen
The Uniprint End-User License is displayed. You must accept the terms of the license and click Next to continue.
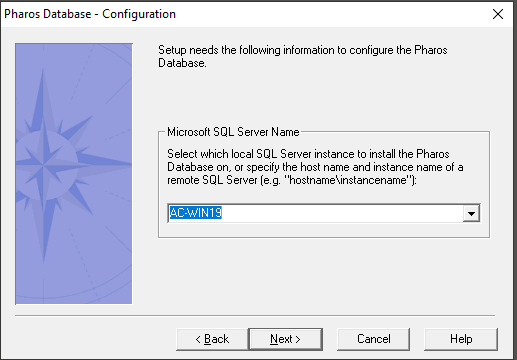
SQL Server Instance
Select the SQL Server on which Pharos Database should be installed.
If the SQL Server is running on your local machine, the drop-down list shows the name of the local SQL Server instance(s). If the SQL Server is on a remote machine, enter the instance name of the remote SQL Server.
Click Next to continue.

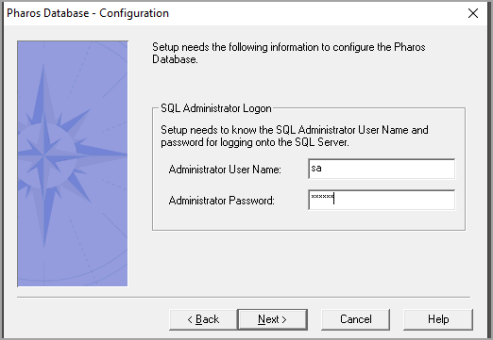
SQL System Administrator Logon
Enter the SQL Server administrator user name and password and then click Next to continue.
Consult your SQL Server administrator for the appropriate logon details to use.
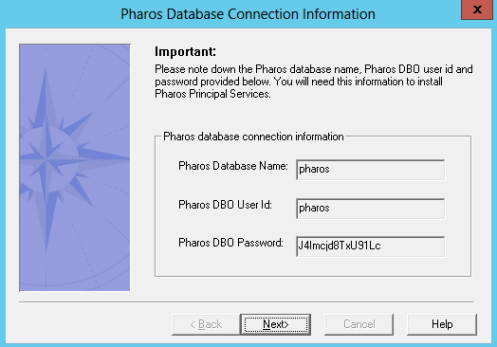
Database Connection
This screen appears only when installing the Database as a separate step from the Principal Services.
This screen shows important Pharos Database connection information. Make sure to keep a record of the following database information:
- Pharos Database Name
- Pharos DBO User ID
- Pharos DBO Password
You will need this information to install Principal Services.
The recommended process is to run the installer on the Principal Services machine and provide the name of the SQL Server on which the Database should be installed.
Click Next to continue.
Pharos Database
This screen only appears when installing the Database as a separate step from the Principal Services.
Enter the database name and database logon details for the Pharos Database. Then click Next to continue.
In a default install, the database name and user name are set to “pharos”. In the Database Password field, enter the password you copied from the Database Information Screen when you installed the Database.

Application Data Directory
This screen appears only when installing Print Services.
Confirm the location of the Application Data Directory. This is where print jobs will be stored temporarily. You can either accept the default location or click Browse to specify a different folder.
The default location is C:\Program Data\PharosSystems folder.
Click Next to continue.
The following Application Data folders are created after install:
- Database – holds the Secure Release Service SQLite Database.
- JobOperationPlugins – holds any plugins installed. For example, If MobilePrint is installed; this folder shows all the MobilePrint plugins.
- JobStore – holds the spool files.
- PageCounting – this holds the spool files when Page Counter fails. This depends on the StoreFiles registry entry.
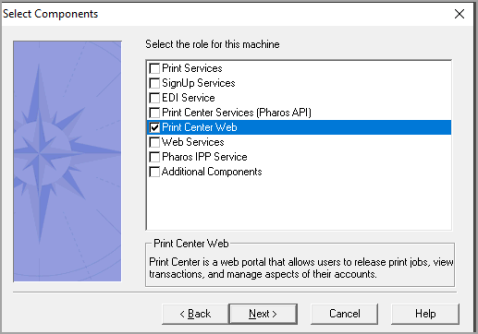
Pharos Print Center Web
Select Components
Select the Print Center role to install the Pharos Print Center website.
Select Components
This screen appears if you are trying to install Print Center Web separate from the Pharos Print Center Services (Pharos API).
Pharos recommends configuration of the Application Request Routing (ARR) feature of IIS if you wish to install the Print Center Web and the Print Center Services separately.
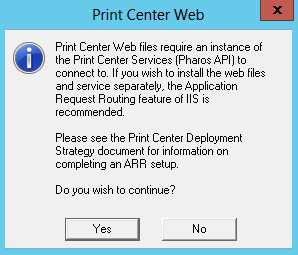
For more information, please refer to the “Technote Print Center Deployment Guide” found in the Pharos Community website.
Select Components
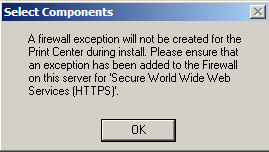
The installer adds firewall exceptions for all the Pharos-specific services during install but does not add firewall exceptions for ports 80 and 443. These ports need to be open for the Pharos Print Center.
This screen shows a warning that an exception has to be added to the Firewall on this machine for Secure World Wide Services (HTTPS).
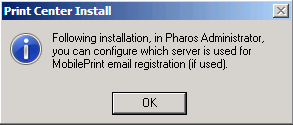
Print Center Install
This screen appears when attempting to install another instance of the Pharos Print Center Web.
Pharos Database Server TCP/IP Host Name and Address
Enter the network name of the computer that hosts the Pharos Database Service (not Pharos Database) and then click Next.
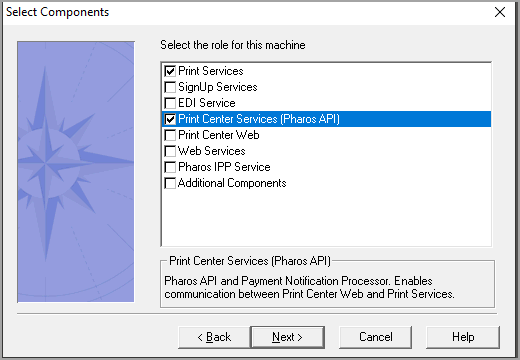
Pharos Print Center Services (Pharos API)
Select Components
Select Print Center Services (Pharos API) to install the Pharos REST API and the Pharos Systems Payment Notification Processor. This component enables communication between Print Center Web and Print Services.
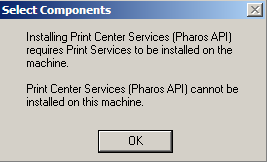
Select Components
This screen appears if you are trying to install Pharos Print Center Services on a machine without Print Services.
Print Center Services has to be installed on a machine running Print Services.
Select Components
The installer adds firewall exceptions for all the Pharos-specific services during install, but does not add firewall exceptions for ports 80 and 443. These ports need to be open for the Pharos Print Center.
This screen shows a warning that an exception has to be added to the Firewall on this machine for Secure World Wide Services (HTTPS).
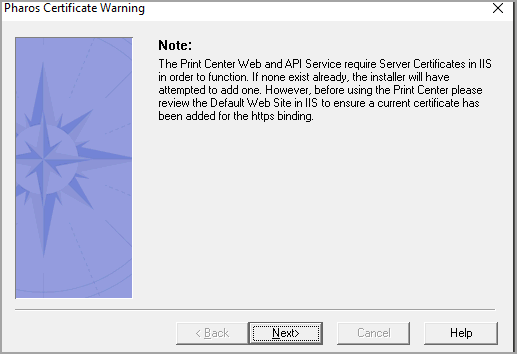
Pharos Certificate Warning
This screen shows a note that both the Pharos API Services and the Print Center Web components require Server Certificates in IIS. If the machine on which you are installing both components does not have a certificate installed, the installer will add a self-signed certificate.
Please review the Default Web Site in IIS to ensure that a current certificate has been added for the https binding.
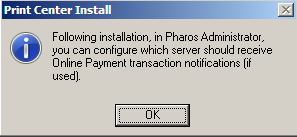
Print Center Install
This screen appears when attempting to install another instance of the Pharos Print Center Services (Pharos API).
Pharos Web Services
IIS Configuration
This screen appears if you selected to install “Web Services”.
Clicking “Yes” automatically configures the following IIS properties for the Web Services to be installed:
- ‘Enable Direct Metabase Edit’ and ‘AspEnableParentsPaths’ will be set to “True”.
- ‘Active Server Pages’ and ‘Server Side Includes’ Web Service extensions will be set to “Active”.
Clicking “No” will take you to the previous screen. You will need to deselect “Web Services” for it to not be installed.

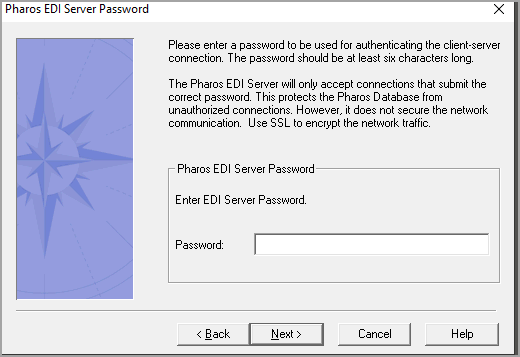
Pharos EDI Service
Pharos EDI Server Password
All external clients that communicate with the EDI Server authenticate themselves by supplying the password you create here.
Enter the password and click Next to continue.
The EDI Server Password can be viewed later in Pharos Administrator on the System Settings > Security context.
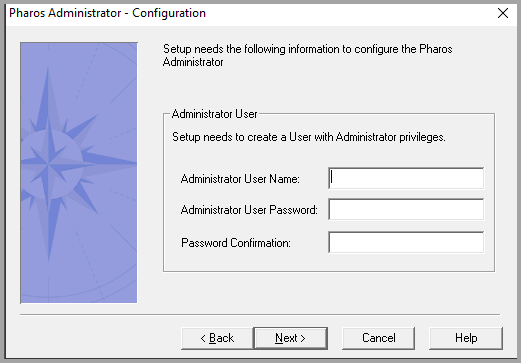
Pharos Administrator
If no Administrator-level users are detected in the Pharos Database, an Administrator User must be created.
Enter details for a new user account to be created and then click Next to continue the install.
The Administrator User password should meet the following complexity requirements:
- At least six characters long
- Contains characters from at least three of the following
- Uppercase (A-Z)
- Lowercase (a-z)
- Numeric (0-9)
- Special Characters