Installing SignUp Clients on Windows
The SignUp Client is installed using the SignUpClientInstaller.exe install package. You can obtain the SignUp Client install package in two ways:
- Open the Packages > Client Installers context in the Pharos Administrator. Select the SignUp Client Installer. This section contains a description of the SignUp client install package and where to find it. Simply click on the Package Location path to open a Windows Explorer window to that location.
OR
- Browse to the location Program Files\Pharos\Client Installers directory of all Pharos Administrator computers. This package can be copied off the install media and distributed as necessary.
The SignUp Client install package can be installed manually using a simple wizard or automatically using the command line (i.e. the required installation information is supplied as parameters).
Requirements
SignUp Client software can be installed on any computer running :
- Windows 11
- Windows 10
- Windows 8.1
- Windows 8 Basic, Pro, and Enterprise Editions
- Windows 7 Enterprise, Professional, and Ultimate Editions
- Windows Vista Home Basic Edition, Home Premium Edition, Business Edition, Enterprise Edition, and Ultimate Editions
- Mac OS X 10.7 – 11.3
Beginning with Uniprint 9.1, the SignUp client can be installed on any of the following Windows Server operating systems. You can install the SignUp client using the command line only. See the Command Line Options topic below for information on how to install the SignUp client on server operating systems.
- Windows Server 2022
- Windows Server 2019
- Windows Server 2016
- Windows Server 2012 R2
The SignUp installer for MAC OS is available in the client\SignCli\macosx directory of the Pharos disk image.
Installation
Details of the SignUp Client install package are available on the Packages > Client Installers context.
To install the SignUp Client application on a PC:
- Run the SignUpClientInstaller.exe install package on the PC.
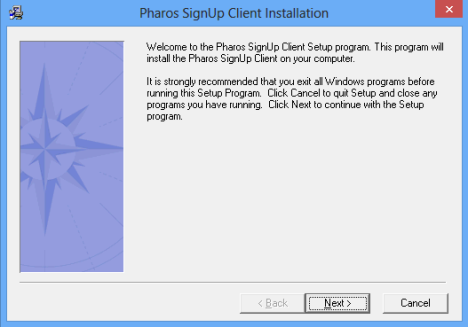
- Click Next at the Welcome screen.
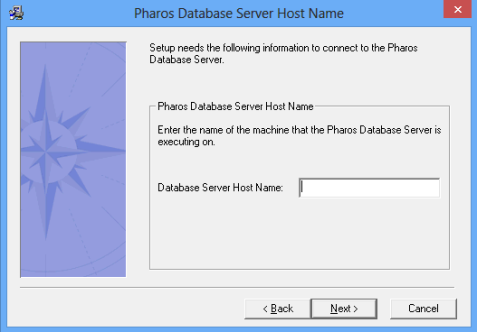
- Supply the network name of the machine on which you installed the Pharos Database Service and click Next.
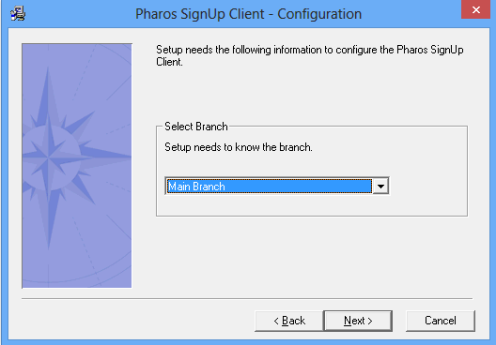
- Select the Branch that this PC should belong to and click Next.
- Select the Computer Type and Computer Group that this PC should belong to and click Next.
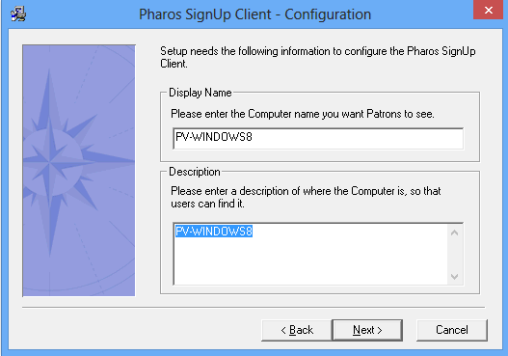
- Enter a Display Name and description for the Computer record, then click Next.
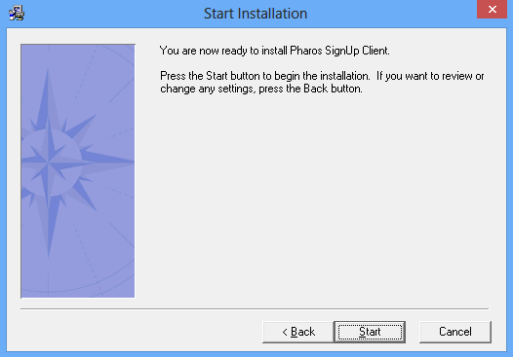
- Check the installation details and click Start.
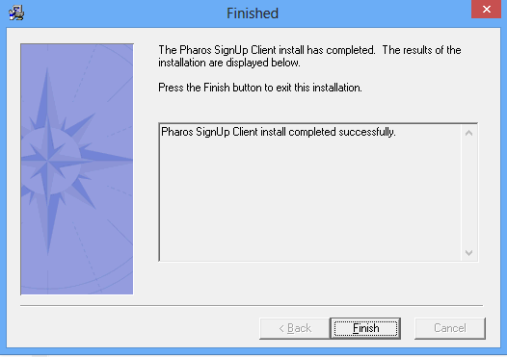
- The SignUp Client installation will commence. Once the installation is complete, click Finish.
- Click OK to restart the PC.
Once the SignUp Client is installed, it will control logon to the PC. A Computer entry for the PC is automatically created in Pharos Administrator at SignUp > Branches > [appropriate Branch] > Computers. Any changes to the configuration of the PC's associated Computer entry are made in Pharos Administrator.
Command Line Options
The SignUpClientInstaller.exe install package can be run from the command line. The following parameters can be specified:
|
Parameter |
Description |
|---|---|
|
/s |
Instructs the installer to run in silent mode. No dialogs are shown to the user and default values are used, unless specified by other command line options. As of 8.3, a command line install is treated as silent (regardless of whether the /s parameter is specified or not). |
|
/d "server" |
Host name of the Pharos Database Server. This value must always be specified. |
|
/n "portnumber" |
Port number of the Pharos Database Server. Defaults to port number “2355” if not specified. |
|
/f "deepfreezedrive" |
A "safe" location where the SignUp Client can store configuration information, so that it will not be erased on a reboot by Deep Freeze security software. This location can either be a drive or a path. |
|
/b "branch" |
The name of the Branch that the computer belongs to. |
|
/g "group" |
The name of the Computer Group that the computer belongs to. |
|
/t "type" |
The name of the Computer Type that the computer belongs to. |
|
/dn "displayname" |
The computer’s Display Name. This is the name that will be visible to users of the SignUp system, and does not have to be the computer’s host name. |
|
/ds "description" |
The computer’s description, which should include information on where the computer is located. |
After installing a SignUp client using the command line, complete the following steps:
- Check the result of the install (SUCCESS or FAIL) in the Result.txt log file found in the \Pharos\Temp folder.
- Check the SignUpClientInstall.log file found in the \Pharos\Bin folder for details of installation errors ,if any.
- Restart your computer to complete installation.
All parameters are optional, except for /d. If no Branch, Computer Group or Computer Type is specified, the installer will select defaults from the Pharos Database after connecting to the Database Server. All values must be specified inside double quotes.
As of Uniprint 9.0, the command-line installer behavior for the SignUp Client has changed in the following ways:
- Command-line installs are now all treated as Silent (regardless of whether the /S parameter is provided).
- The command-line install no longer prompts for a reboot at the end of the install. A reboot is required to complete the install of the SignUp Client - this must be initiated independently following the install.
- Command-line installs no longer fail if a path is provided for the /f parameter. This parameter defines the location of the Deepfreeze 'thawspace'. This location can now either be a path or a drive.
All parameters are optional, except for /d. If no Branch, Computer Group or Computer Type is specified, the installer will select defaults from the Pharos Database after connecting to the Database Server. All values must be specified inside double quotes.