Access Times
![]() The Access Times context sets up the schedules of times
that various Pharos resources are available to users. Access Times are
used when setting permissions for those
components that allow them.
The Access Times context sets up the schedules of times
that various Pharos resources are available to users. Access Times are
used when setting permissions for those
components that allow them.
Access Times are also used in Pharos SignUp to control when users are allowed to reserve and log on to Computers. Because Computers reside in a particular Computer Group, the Access Times schedule for that Computer Group defines the times when the Computer is available for use. Pharos SignUp uses the access schedule for a Computer Group to determine whether a reservation request can be met.
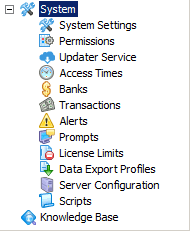
Access Times entries appear in the Access Times context, under System in the Context Tree:
An access schedule called "All the time" is created when the Pharos Database is first installed. This schedule cannot be deleted or renamed, and is the default for all new permissions and Computer Groups. This schedule allows 24-hour access for every day of the week.
Adding and Deleting a new Access Time
To add a new access schedule,
select the Insert action on the
Access Times context Actions pane ( ![]() ). This opens the
Access Times Insert dialog. Enter
a name for the new access schedule and click OK.
The new access schedule entry is inserted into the Pharos Database. By
default, the access schedule have no allowed times defined - it must be
configured from the calendar grid. See Setting Access Time Schedules section
for more information on how to configure access schedule.
). This opens the
Access Times Insert dialog. Enter
a name for the new access schedule and click OK.
The new access schedule entry is inserted into the Pharos Database. By
default, the access schedule have no allowed times defined - it must be
configured from the calendar grid. See Setting Access Time Schedules section
for more information on how to configure access schedule.
To delete an existing Access Times
entry, select a schedule and
click the Delete option on the
Access Times context Actions pane ( ![]() ).
).
Setting Access Time Schedules
The Access Times context uses a calendar grid view to set up and display the access time schedule. In this view, week days are displayed as columns (from Saturday to Sunday) while the timeline appears as rows. The timeline displays a 24-hr clock (starting from 0:00 to 23:00) with a 5 minute time interval.
To change the available times in an access schedule, from the Access Time List Window, select the access schedule that you wan to set up or change. The lower half section of your screen displays a calendar grid view, where the available times can be configured. From the calendar view, select a weekday column and click the cell that corresponds to the desired start time on the timeline and drag the mouse pointer to set the end time creating a "time block" for the selected day.
To delete a "time block", just select the time block that you want to delete and then press delete or backspace.
You can also resize, move, and combine Access Times in the Calendar grid view.
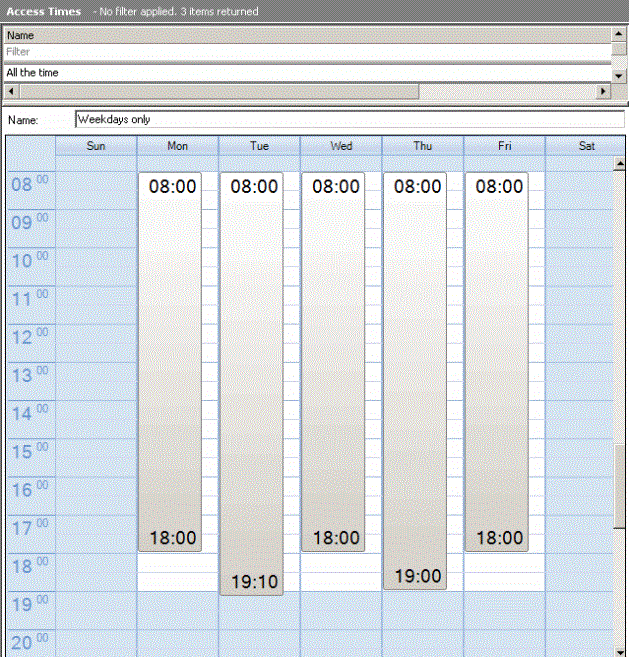
If no times are configured for a day, resources will not be available to users at all on that day.
To change an access schedule's name, type a new entry into the Name field