Inserting Plug-ins
Plug-ins can be attached to various events on the following Pharos components:
Plug-ins are attached in the contexts for each component, using a variety of different controls.
Banks
Plug-ins are attached to Pharos Banks at System > Banks.
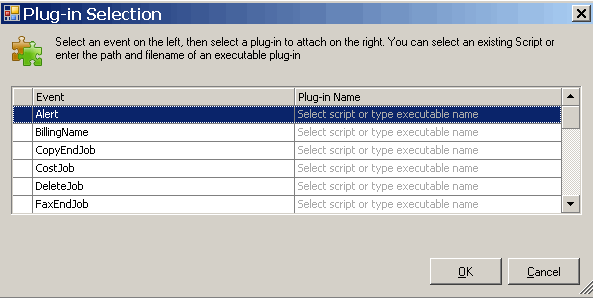
To attach a plug-in to a Bank, click the editing button at the end of the Plug-ins field. This opens a Plug-ins dialog:

- Select the event to attach a plug-in to.
- Select the Script you want to attach, or select "Executable Plug-in", depending on the type of plug-in being used.
- If the plug-in is an executable, enter the path to the plug-in into the field below, or click Browse to locate the plug-in.
- Click OK to close the dialog and save your changes.
Print Services
Plug-ins are attached to Print Services at System > Server Configuration.
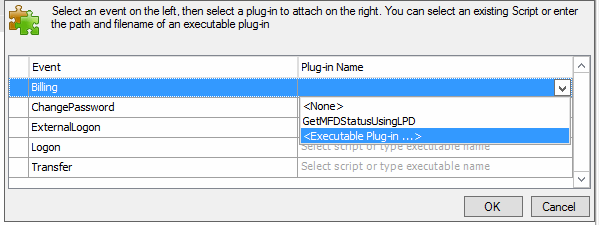
To attach a plug-in to a Print Service, click the editing button at the end of the Plug-ins field. This opens a Plug-ins dialog:

- Select the event to attach a plug-in to.
- Select a Pharos Script or an executable plug-in, depending on the type of plug-in being used.
- If the plug-in is a Pharos Script, select the name of the plug-in from the Plug-in Name combo box.
- If the plug-in is an executable, enter the path to the plug-in directly into the Plug-in Name field, or select <Executable Plug-in...> from the combo box to browse for the plug-in.
- Click OK to close the dialog and save your changes.
Print Groups
Banner plug-ins are attached to Print Groups at Output Management > Print Groups.
To attach a Banner plug-in to a Print Group:
- In the Banner Type field (Banner category), select either "Executable Program" or "Template" from the combo box.
- Depending on the type you have selected, type the path to the plug-in into the Path field or load the template.
Banner plug-ins can only be programs (executables) or templates - scripted plug-ins cannot be used for a banner.
MFDs
GetMfdStatus plug-ins are attached to MFDs at Output Management > Devices > Multi-Function Devices category. The Plug-In field is available only when the device has both the Copy and Print functions.
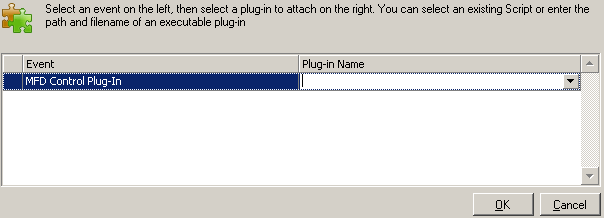
To attach a GetMfdStatus plug-in to an MFD, click the editing button at the end of the Plug-ins field (MFD tab). This opens a Plug-ins dialog:

- Select the event to attach a plug-in to.
- If the plug-in is an executable, enter the path to the plug-in directly into the Plug-in Name field, or select <Executable Plug-in...> from the combo box to browse for the plug-in.
- If the plug-in is a Pharos Script, the Name field will contain a list of all available scripts. Select the scripted plug-in from this list.
- Click OK to close the dialog and save your changes.
SignUp Services
Plug-ins are attached to SignUp Services at System > Server Configuration.
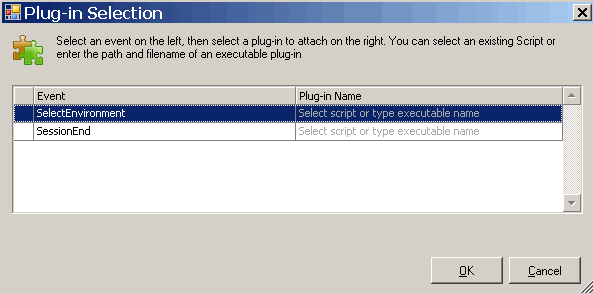
To attach a plug-in to a SignUp Service, click the editing button at the end of the Plug-ins field. This opens a Plug-ins dialog:

- Select the event to attach a plug-in to.
- Select a Pharos Script or an executable plug-in, depending on the type of plug-in being used.
- If the plug-in is a Pharos Script, select the name of the plug-in from the Plug-in Name combo box.
- If the plug-in is an executable, enter the path to the plug-in directly into the Plug-in Name field, or select <Executable Plug-in...> from the combo box to browse for the plug-in.
- Click OK to close the dialog and save your changes.