Installing the SignUp Nerve Center
The SignUp Nerve Center (including the Queue Station) is installed on a web server using the main installers on the Pharos disk image. To access the Nerve Center from a client PC, all that is needed is a web browser.
Requirements
- SignUp Web Components (Nerve
Center and Queue Station) can be installed on any computer running the
following platforms:
- Windows Server 2022
- Windows Server 2019
- Windows Server 2016
- Windows Server 2012 R2
- Windows 7 Business Edition, Enterprise Edition, and Ultimate Edition
- Windows 8 Basic, Pro, and Enterprise Editions
- Windows 10
- Windows 11
- Microsoft Internet Information Services (IIS) 7.0 or later.
- A web browser must be installed on any machine that will access the Nerve Center or Queue Station. Pharos currently supports Microsoft Internet Explorer, Firefox, or Google Chrome. Other browsers, e.g. Opera or Safari, may work, but are not officially supported.
If using Internet Explorer, you must add the Nerve Center website to the list of Trusted Sites from Tools > Internet Options > Security after installation. If not added, your Nerve Center site may not work properly.
Installation
To install the SignUp Web Components on a PC:
- Browse to the Pharos disk image and run setup.exe in the root directory of the disk image.
- Select Install Pharos from the main splash screen.
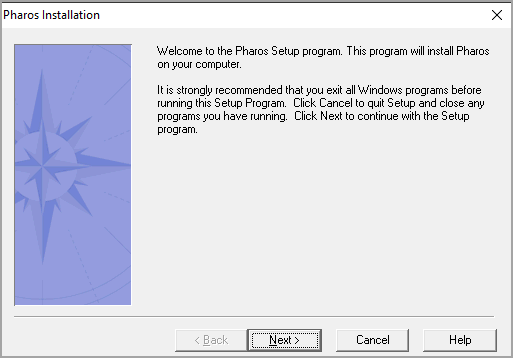
- Click Next at the Welcome screen.
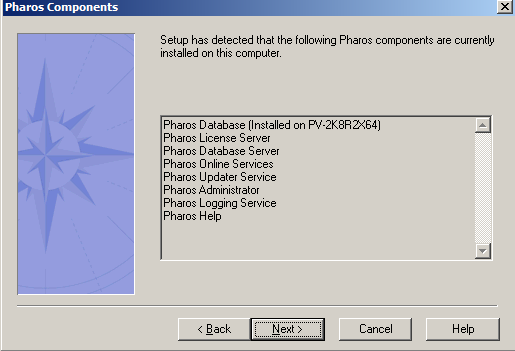
- If any other Pharos components are installed on this PC, they will be listed. Click Next.
- Leave the install directory as the default. Click Next.
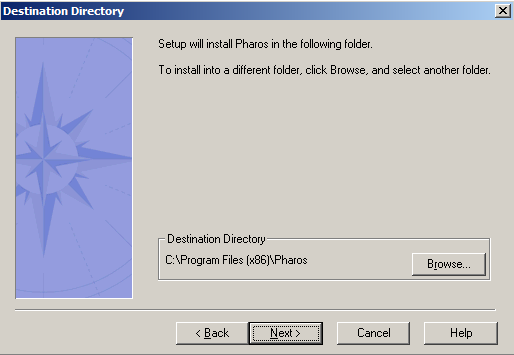
Pharos-specific components are installed in the directory you specify here. The files for the web components are always installed on the web server at Inetpub/wwwroot/SignUp.
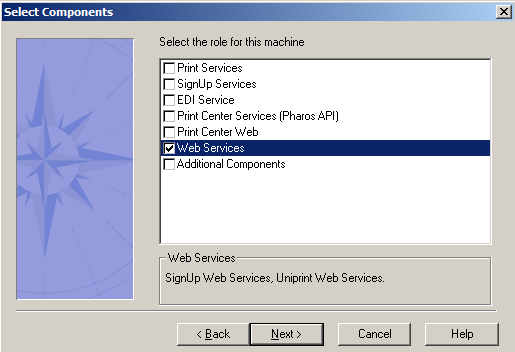
- Select Web Services and click Next.
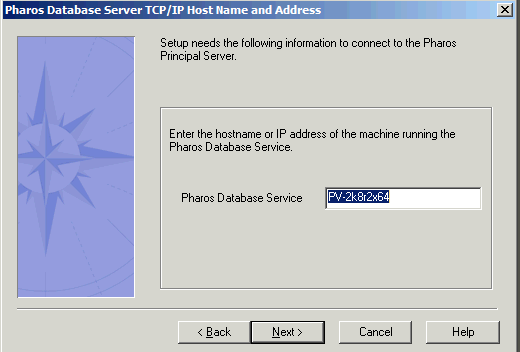
- Supply the network name of the machine on which you installed the Pharos Database Service and click Next.
- Check the installation details and click Start.
- The installation will commence. Once the installation is complete, click Finish.
- You will be asked to restart the PC. Click OK to do so.
Once the web components are installed, you can start the Nerve Center from the Start menu at Programs > Pharos on the web server PC. Other PCs with web browsers can access the Nerve Center by browsing to http://server/SignUp/, where "server" is the name of the web server PC. The Queue Station is accessed from the Nerve Center.
Post-Install Setup
Once the SignUp web components have been installed from the Pharos installers, the SignUp site must be created as an IIS project using Windows' Internet Services Manager application:
- Open Internet Services Manager.
- Open [Web server machine] > Default Website > SignUp on the tree on the left.
- If the SignUp folder is not yellow, the SignUp site is already an IIS Project, so the next steps are not required.
- If the SignUp folder is yellow, right-click on it, and select Properties.
- In the Application Settings section click Create. (If the site has already been created, the button will say Remove.)
- Click OK.
- Exit Internet Services Manager and restart the web server machine.
Confirm the Default Website is running. If it is stopped, right-click the Default Website folder in Internet Services Manager and select Start.
If you change the Pharos Database Server, or if the Site fails with an error message, restart the web server to unload COM DLLs and recreate them. Restart the web server by right-clicking the Machine folder in Internet Services Manager and selecting Restart IIS...
Installing the barcode font
Certain pages of the Nerve Center allow staff members to print out a user's details. This printout includes a barcode representation of the user's logon ID. In order to print out barcodes, the Free 3 of 9 Extended Regular barcode font must be installed on all browser PCs that will access the Nerve Center. This font is available on the Pharos disk image.
To install the font on a PC:
- Open the Fonts folder (available from the Control Panel, or at Windows/fonts or Winnt/fonts, depending on the operating system).
- Select Install New Font from the File menu.
- Browse to the misc/BarCodeFont folder of the Pharos CD and select "Free 3 of 9 Extended Regular (TrueType)".
- Make sure the "Copy fonts to Fonts folder" box is ticked, then click OK.
The Free 3 of 9 Extended Regular barcode font was created by Matthew Welch, and is freely available on the author's website: http://www.squaregear.net/fonts/.
Removing the password field from the Logon screen
On sites where users do not have passwords, it may be desirable to remove the password field from the Nerve Center's Logon screen. To do this, you must manually edit the web page Logon.asp, which is installed in the Inetpub/wwwroot/SignUp directory on the web server. The page can be edited with an HTML editor, or with a text editor like Notepad. Look for the following lines of code in the document and delete the highlighted section:
<table class="main-logon-form" cellspacing="0"
cellpadding="5">
<tr>
<td class="main-logon-form">
<b>Logon ID</b>
</td>
<td>
<input type="text" autocomplete="off"
class="main-text-box" name="txtLogonId">
</td>
</tr>
<tr>
<td class="main-logon-form">
<b>Password</b>
</td>
<td>
<input type="password"
autocomplete="off" class="main-text-box" name="txtPassword">
</td>
</tr>
<tr>
<td class="main-logon-form">
<b>Branch</b>
</td>
<td><%
DrawBranchCombo( BranchList );%>
</td>
</tr>
</table>
The document is quite long - search for "password" if you have trouble locating this section.