Getting started with Pharos Print Center
Logging on to Pharos Print Center
Users can launch the Pharos Print Center by typing in its URL from a supported web browser. By default, the URL of the Pharos Print Center is https://server/myprintcenter, where server is the name of the server on which the Print Center is installed.
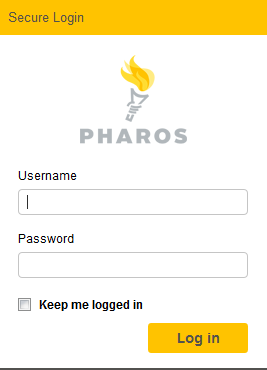
To access the Pharos Print Center website, users must log in using either their university network or Pharos credentials.
Creating guest user accounts in Print Center
Users who will only use the Print Center on a temporary basis can create a guest account by clicking the I am a guest link on the Pharos Print Center logon page.
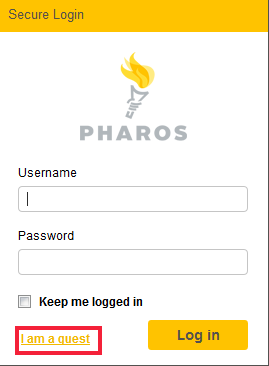
This opens a new screen and prompts the guest user to enter details such as First Name, Last Name, Email address, and a Password.
The guest user’s account is added to the Pharos database and will be automatically removed from the database depending on the number be days set in the Guest Account duration in days (default is 28 days) setting if the account does not have any remaining funds. Guest users must use the email address that they used to create the guest account for subsequent logins to the Pharos Print Center.
The guest account feature is disabled by default. You can enable this feature in Pharos Administrator by checking the Allow Guest Accounts option under the Print Center tab in the System > System Settings context.
The Pharos Print Center Menu
After logging on, users are presented with the Pharos Print Center website. Depending on how the Pharos Print Center is configured or the user's role, different options may be available. The standard Pharos Print Center consists of two tabs: Job List and Activity.
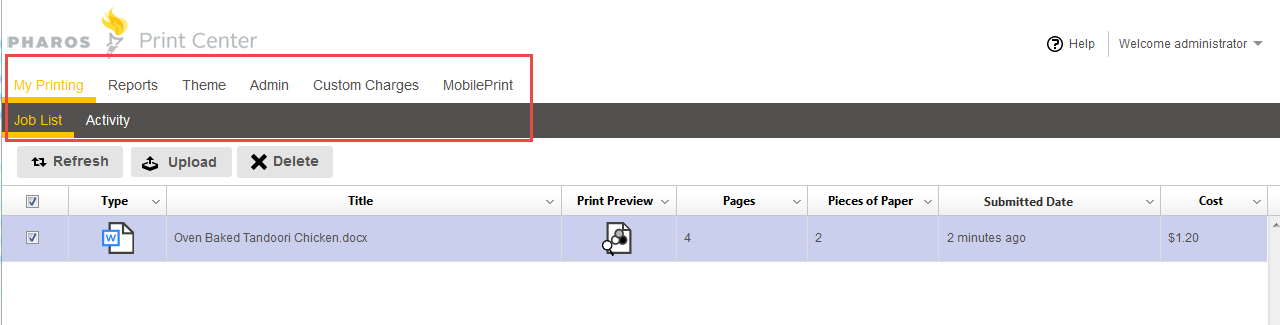
The following lists the screens that are available in the Print Center website:
- My Printing
- Job List - Shows a list of all the jobs that are ready for release.
- Activity - Shows activity information such as the date and time when an activity occurred, the amount of money credited or debited as a result of an activity, and so on.
- Reports - Shows a list of all PayPal transactions for a selected date range. This is used to help reconcile Pharos transactions against PayPal transaction reports. This tab requires an "Administrator" access role and is not available for other roles (e.g. user).
- Theme - The section where you can change the logos, colors, text of your Pharos Print Center. This tab requires an "Administrator" access role and is not available for other roles (e.g. user).
- Admin - This tab allows administrators, proctors, and cashiers to remotely manage user accounts and printing. It also allows you to set up your Pharos Google Cloud Print integration. Google Cloud Print requires Pharos MobilePrint license.
- Custom Charges - Allows operators or Lab Admins to create custom charges for unique items, such as binding, 3D Printing, lamination, etc.
- MobilePrint - This tab contains MobilePrint related settings, such as email server connection, print driver mapping and so on. This tab is available only when MobilePrint 2.2.1 or greater is installed. This tab requires an "Administrator" access role and is not available for other roles (e.g. user).