Managing Users with the Nerve Center
This screen is accessed by clicking the Patrons tab ( ![]() ).
).
Six options are available on this screen:
To search for a specific patron, click Search for Patron.
To display and modify the details of a user account, click Modify Details, then enter their Logon ID on the screen that appears and click Go.
To create a new user account, click Create New Patron.
To create a temporary visitor account, click Create Visitor.
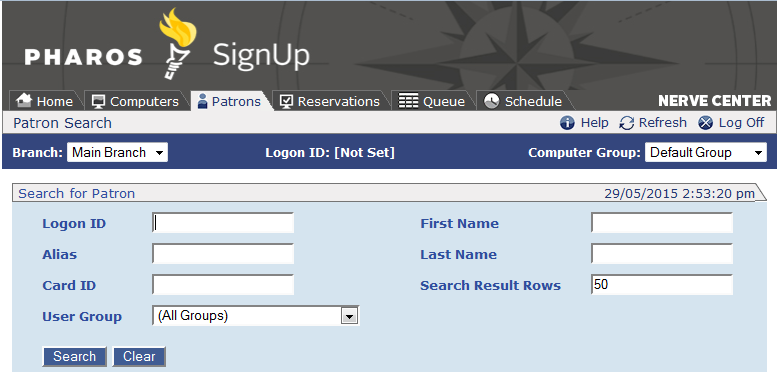
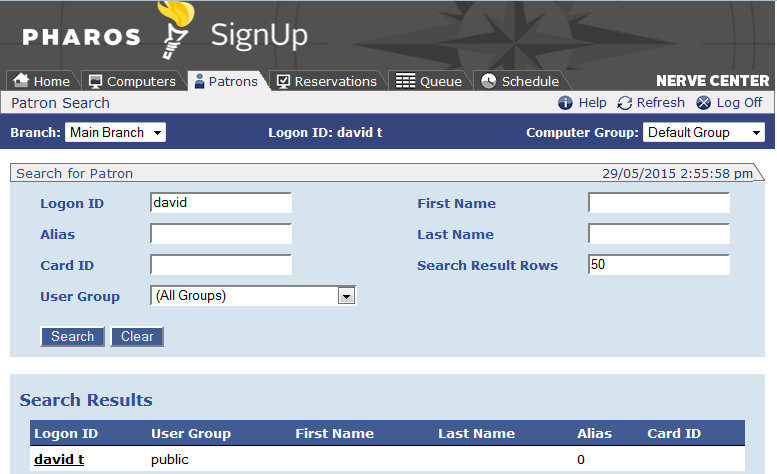
Searching for Patrons
User accounts can be searched for by logon ID, first name of last name. This can be useful if a patron has forgotten their account name, of if they have been given a temporary visitor account previously, and want to know if it is still active.
Enter values for any or all of the fields on this screen and click Search to provide a list of all users whose names match the entered details. Specifying a value in the Search Result Rows field guards against an unmanageably large list of users being returned (which could take a long time to load).
The * and ? wildcard characters can be used in the Logon ID, First Name and Last Name fields.
Modifying Existing Users
The account details of the selected User can be changed on this screen. Once new details have been entered, click the Save button to update the user's account.
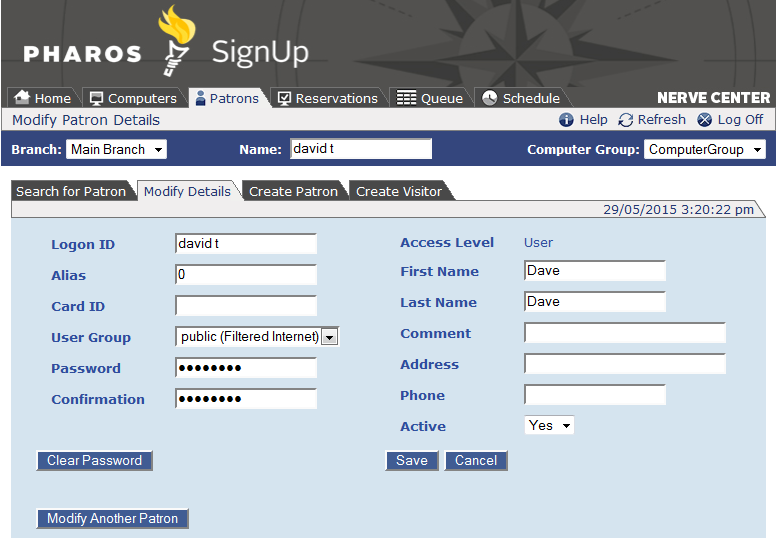
The password fields are disabled by default. To enable them so that the password can be changed, you must first clear the fields by clicking the Clear Password button.
Creating New Users
New user accounts are created on this screen. Once the details have been entered, click the Save button to create the new account.
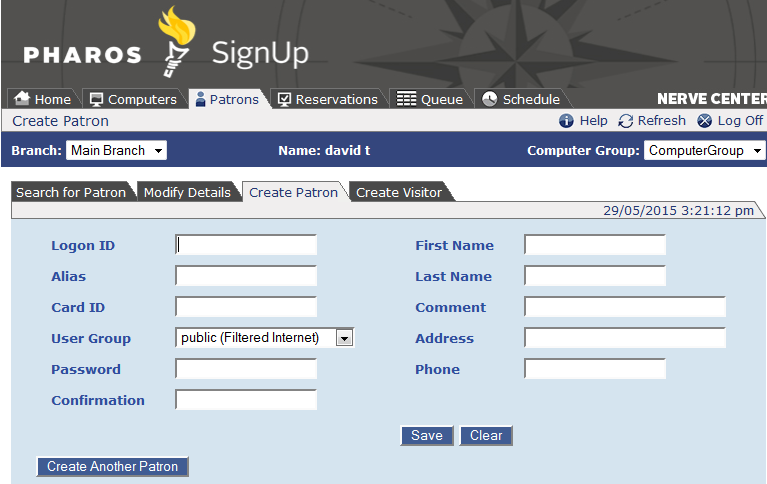
Login ID, Password and Alias must be entered; all other fields are optional.
Creating Visitors
Staff members may create temporary "visitor" accounts for users. These accounts are automatically deleted after a set number of days, configured at SignUp > SignUp Global Settings > Visitor Accounts tab.
If visitor accounts are available where users log on to an external authentication system via a Logon Gateway, the system must be set to allow users who exist in the Pharos Database only (i.e. not in the external system).
New visitor accounts are created on this screen. Once the details have been entered, click the Create button to create the new visitor account. Once the account is created, options to print out a record of the user's logon details or create a reservation for them become available.
The printout of the user's logon details includes a barcode representing their logon ID. To print barcodes, a barcode font must be installed on all browser PCs being used to access the Nerve Center.
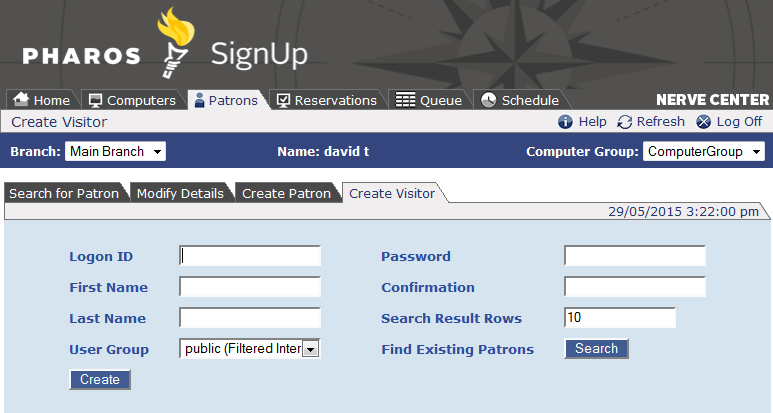
A Search button is also available - this performs the same function as the Patron Search screen. This button can be used to check if the patron already has a temporary account, or to see if there are existing accounts with the name you want to use.