Making Reservations at a Pharos Station
Users can reserve Computers from a Pharos Station only if it has been designated as a Reservation Station. The Reservations screen can be used to make a Scheduled or a Queued Reservation, depending on configuration. Immediate Reservations are made at the Computers themselves.
Reservations Screen
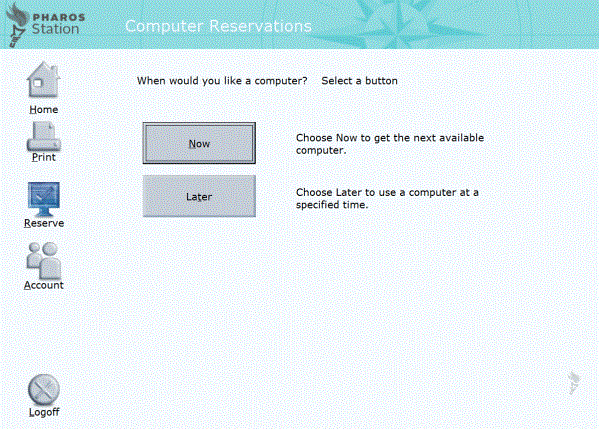
If the user has already made a reservation, they are given the option of making a new reservation or reviewing their existing reservations. If the user has no reservations, the reservation wizard starts straight away.
Clicking the Make Reservation button on a Pharos Station configured to offer reservations starts the reservation wizard, where users are prompted for the details of their reservation. Depending on the site's configuration, certain details may not be required. In the case where only Queued reservations are available, and there are no options for the Computer Group or Computer Type, the reservation is created as soon as users click the Reservation button, and the confirmation screen is displayed.
Reservation Type
The user must select whether they want a computer Now (for a Queued reservation) or Later (for a Scheduled reservation).
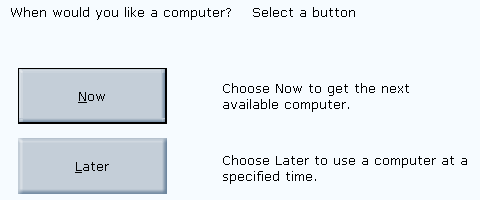
Type of Computer
The user must select a preferred Computer Type. A simple control is available for choosing Computer Types:
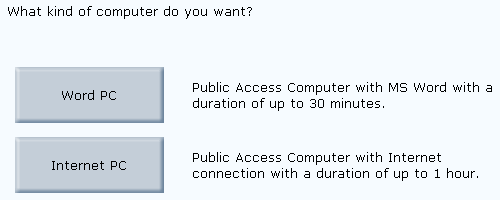
The Computer Type determines the reservation duration. All available Computer Types at the selected location are presented for selection.
The default Computer Type can be set at Release Stations > [selected Pharos Station] > SignUp category.
If a Computer of the selected Type is not available, the user may be presented with a Computer whose Type is listed as an Alternative for the selected Type. Alternatives are configured at SignUp > Computer Types > [selected Computer Type] Advanced category.
Location
The user must specify a location (Computer Group) for their reservation. A simple control is available for choosing locations:
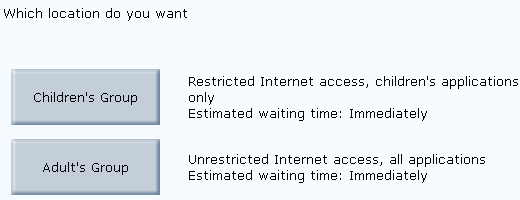
All Computer Groups in the same Branch as the Reservation Station are available for selection. The Reservation Station's Computer Group is presented as default.
![]() If the Can
Select Group property is set to "No" at Release
Stations > Pharos Stations > SignUp category, the Computer
Group cannot be changed, and the default must always be selected.
If the Can
Select Group property is set to "No" at Release
Stations > Pharos Stations > SignUp category, the Computer
Group cannot be changed, and the default must always be selected.
Reservation Length (Queued only)
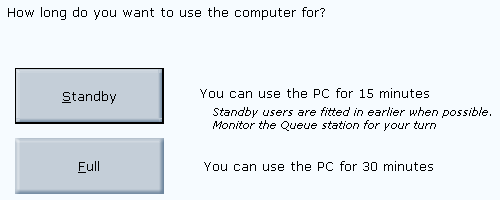
If Standby reservations are available, the user must specify whether they want a full-length Queued reservation, or a shorter Standby reservation.
Day (Scheduled only)
The user must select a day for the reservation. A simple calendar control is available for choosing a day:
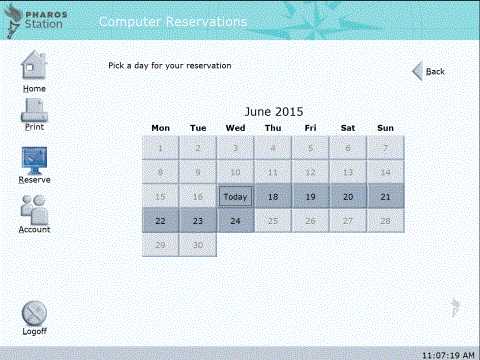
Available dates are highlighted. The maximum number of days in advance users can place reservations is set at File menu > SignUp Global Settings > Reservation tab.
Starting Time (Scheduled only)
The user selects the time of day they want their reservation to start, using a slider control:
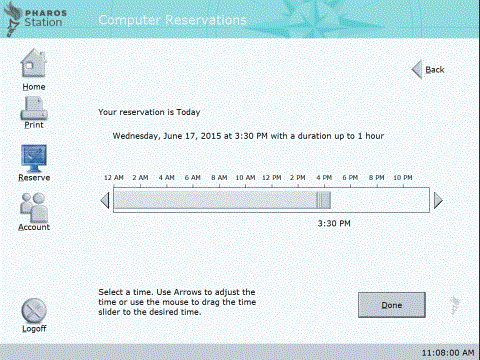
Users can either use the arrows at either end of the slider bar the move the start time forwards or backwards in five minute intervals, or drag the slider itself to the desired start time. Any times that are unavailable are highlighted on the slider bar.
![]() The times on the slider bar use the Windows
Regional Settings for the AM/PM format. On lower resolution screens, it
may be desirable to change the format to one that takes up less space.
Note that the actual time format (e.g. 12-hour/24-hour) cannot be changed.
The times on the slider bar use the Windows
Regional Settings for the AM/PM format. On lower resolution screens, it
may be desirable to change the format to one that takes up less space.
Note that the actual time format (e.g. 12-hour/24-hour) cannot be changed.
The width of the slider corresponds to the maximum duration of the reservation. This will be the maximum amount of time the user has left (as determined by their quotas), or the Maximum Reservation Duration of the Computer Type they are reserving, whichever is smaller.
The Maximum Reservation Duration for a Computer Type is set at SignUp > Branches > [selected Branch] > Computer Types.
Placing a Reservation
Once the user has completed all screens of the reservation wizard, the details of the reservation are displayed to the user, along with a confirmation message:
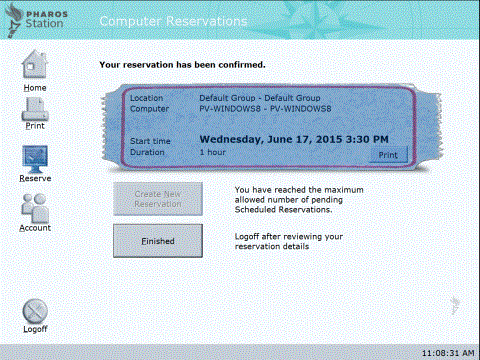
Four buttons are available:
- A Cancel button, which allows the user to cancel their reservation, removing them from the queue if it is a Queued reservation.
- A Print button, which prints a small receipt containing details of the reservation for the user's reference. This button is only available if a printer is attached to the Pharos Station, and "Yes" has been selected for the Can Print Receipts property at Release Stations > Pharos Stations > SignUp tab.
- A Create New Reservation button. If the user is allowed to make another reservation, they can do so by clicking on this button to start the reservation wizard again.
- A Finished button, which logs the user off.
If the user has more than one pending reservation, arrow buttons are also available, which allow the user to swap between the details of all of their reservations.
![]() The number
of Scheduled Reservations a user may have pending is configured at
SignUp > SignUp Global Settings >
Reservations tab.
The number
of Scheduled Reservations a user may have pending is configured at
SignUp > SignUp Global Settings >
Reservations tab.
![]() Receipts can be customized
by editing the receipt templates located in the Pharos\bin
directory.
Receipts can be customized
by editing the receipt templates located in the Pharos\bin
directory.
Queued Reservations
Once a reservation is made, the user can go to a Queue Station to check their position in the queue and wait for notification to go to a Computer.
If a Computer is free at the time the user makes their reservation, they are told which Computer to go to. If the user does not start their session within the Unclaimed Session Timeout, their reservation will be removed automatically.
In all cases, if a user who has already made a reservation logs on to the Pharos Station, the relevant confirmation screen is automatically displayed. They may not make a new reservation until the existing one is canceled.
Scheduled Reservations
At the chosen start time, the reserved Computer will become available for the user. If the user does not start their session within the Unclaimed Session Timeout, their reservation will be removed automatically.
If a user who has already made a reservation logs on to the Pharos Station, the confirmation screen is automatically displayed. They may cancel any or all of their pending reservations, or make another one (if they are allowed to).
Making Express Reservations
If the Pharos Station belongs to a group that allows Express reservations, the process is slightly different. When the user logs on, they are asked for their first name only; this is used to generate a temporary set of logon details (Logon ID and Password) for the user to use when their reservation is activated and they go to log on to the SignUp Client.
When the reservation is made, these details are displayed at the bottom of the confirmation screen:

![]() To make Queued or Scheduled Express reservations
at a Pharos Station, the Pharos Station must be configured to use a Bank
whose Source of Identification is "Express
Logon".
To make Queued or Scheduled Express reservations
at a Pharos Station, the Pharos Station must be configured to use a Bank
whose Source of Identification is "Express
Logon".